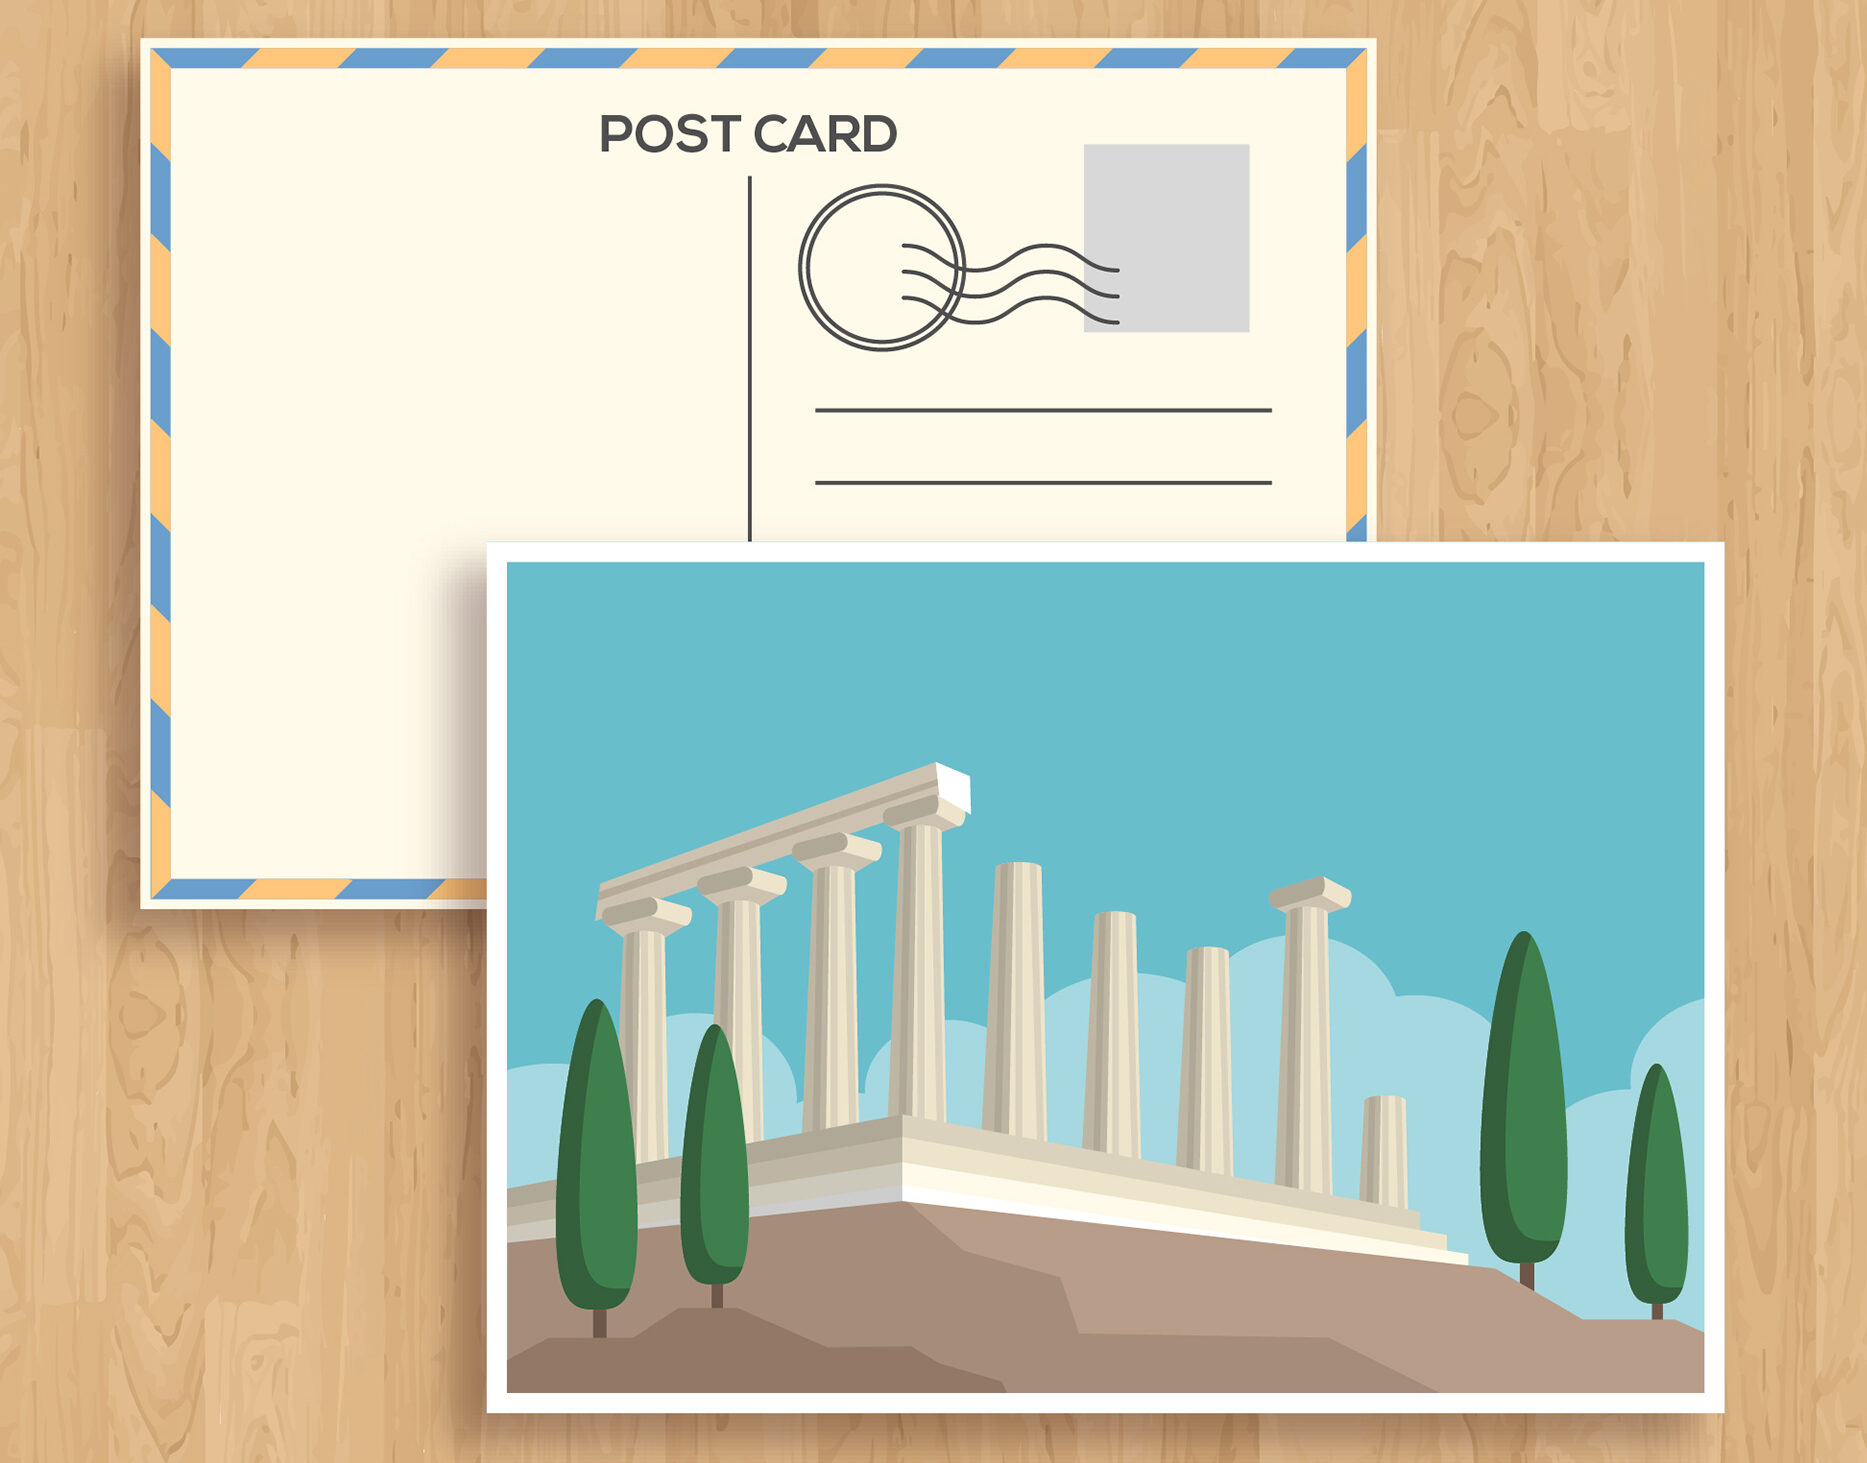
Postcards with Mailing are a fast and effective way to get your message directly into customers’ hands. Available in various sizes and heavy paper stocks, these postcards are printed in vibrant full color and can be customized with optional coatings and mailing services.
Our most common postcard orders are:
4″ x 6″ or 8.5″ x 5.5″
Printed on 14pt or 16pt Gloss Cover
Coated with UV on 1 Side
4/4 Full Color or 4/1 Front Color + Back Black
For lower quantities under 1,000, or non-mailing postcards, we recommend:
[4-Color Digital Postcards]
[4-Color Offset Postcards Without Mailing]
Postcards are a favorite for a reason—they’re simple, direct, and cost-effective.
They can:
Increase event attendance
Drive website traffic
Promote seasonal deals
Retarget past customers
Choose a bold design, strong headline, and clear call-to-action to maximize response.
We offer mailing from both East and West Coast facilities for faster delivery.
Choose the correct location based on where 50%+ of your mailing list is located.
We cannot split mailing lists. Submit separate orders if needed.
Design Guidelines for Mailing:
Leave 1.00″ of white space on top right corner (for USPS indicia)
Leave 2.25″ x 4.25″ white space on bottom right (for inkjet address)
Approval & Turnaround:
Jobs must be approved by Prepress and meet USPS rules before turnaround begins.
A valid mailing list and postage payment are required to proceed.
Estimated Postage Costs:
200–499 units: $0.32 per unit
500+ units: $0.24 per unit
(Prices subject to USPS changes)
Standard Sizes:
Our standard sizes, listed below, are the most popular in the industry:
You may be familiar with this type of stock from thick index cards, though the finish is much higher quality.
This is a very versatile stock. The uncoated finish is good when you don’t want a slick and shiny look, while the firm 14 Pt. stock folds precisely.
You may be familiar with this type of stock from presentation folders.
This thick and stiff stock is coated on both sides with a glossy finish.
You may be familiar with this type of stock from heavy bookmarks or other products printed on a semi-rigid card stock.
This is our thickest stock and comes with a gloss coating on both sides. Because of its thickness, it is not ideal for folding unless scored first.
You may be familiar with this type of stock from business cards or notecards with a subtle, woven, fabric-like finish.
This sturdy paper offers a unique non-glossy look enhanced with a subtle, woven linen finish.
Full color on both sides of the sheet. This option can reproduce the range of colors you see in a typical photograph out of the standard 4 printing colors: cyan, magenta, yellow, and black. Typical examples of this are magazine covers and high-end catalogs.
Full color (cyan, magenta, yellow, and black as above) on the front and black on the back. A typical example of this is a flyer.
AQ is short for Aqueous Coating. This is a semi-gloss, environmentally friendly, water-based coating applied to the front of the printed piece. It provides additional gloss and protection, and it can be written on with a ballpoint pen.
AQ is short for Aqueous Coating. This is a semi-gloss, environmentally friendly, water-based coating applied over the entire front and back of the printed piece. It provides additional gloss and protection, and it can be written on with a ballpoint pen.
AQ is short for Aqueous Coating. This is a matte finish, environmentally friendly, water-based coating applied over the entire front and back of the printed piece. It reduces the gloss of the printing and it can be written on with a ballpoint pen.
UV is short for Ultra Violet Light-Cured Coating. This is a high-gloss coating applied over the front of the printed piece. It is not recommended for printed material you need to write on after being produced.
UV is short for Ultra Violet Light-Cured Coating. This is a high-gloss coating applied over the entire front and back of the printed piece. It is not recommended for products you need to write on after being printed.
Spot UV Coating Options:
UV is short for Ultra Violet Light-Cured Coating. This is a high-gloss coating applied to specific spots of your choosing. Any areas not coated with Spot UV will be coated with Dull Varnish.
This product can be coated with a variety of Spot UV combinations:
Overall UV coating is applied over the entire back of the printed piece. This cannot be written on.
Dull Varnish is applied overall to the backside and reduces the gloss of the printing. This varnish can be written on with a ballpoint pen.
Rounded corners use extra finishing to convert regular square corners into rounded corners. Rounded corners represent 1/4 of a circle. We offer them in 4 sizes described by the radius of the full circle.
Please Note: The USPS will not mail items with rounded corners in excess of 1/8″ Since this product is mailed, the only rounded corner option is 1/8″
If you prefer rounded corners on only 1, 2, or 3 corners, please submit a custom estimate.
Shrinkwrap is a thin, plastic wrapping designed to group the items you order into desired quantities. Additionally, it helps your order arrive in tip-top condition because it reduces rubbing during shipping. It is called “shrinkwrap” because after the plastic is placed around each bundle, it is shrunk with gentle heat for a better fit.
Orders can also be grouped using rubber bands.
Options:
5 per package
10 per package
25 per package
30 per package
40 per package
50 per package
75 per package
100 per package
Please note that if your order quantity and the number of pieces per package will result in more than 200 individually shrinkwrapped packages, your order may require an additional 1-2 days for fulfillment.
4-Color Offset printing is ideal for lower prices on large quantity orders or any time you would like coating on your products.
Almost always, people choose this option when ordering large quantities.
If you would like to order product options not available in the pricing calculator, please contact us now to request a custom estimate.
In many cases, it is more affordable to order one of our specified quantities rather than placing a custom order. Custom orders are most commonly placed for order specifications not listed in the pricing calculator.
In order to ensure your files are print-ready, we recommend that you upload them in PDF format. When you generate a print-ready PDF, your computer will use the settings in Adobe Acrobat Distiller or any other PDF generating programs you may use. Please make sure that these are set properly before generating your PDF file.
If you are uploading PDF files created in Photoshop, please be sure all layers are flattened.
We also accept .JPG (JPEG), .EPS and .TIF (TIFF) file types, however PDF is the preferred format.
Check your file to make sure it meets our file creation guidelines. This will help speed up the production of your project and give your printed piece the best results.
Use the CMYK colorspace (Cyan, Magenta, Yellow, blacK). These are industry standard printing colors. CMYK colors are different than RGB (Red, Green, Blue), which are used to display colors on your screen.
Use a minimum resolution of 300 dpi for image files.
Specify trim area with crop marks. (Don’t place crop marks inside the work area.)
Artwork should have 1/8″ (0.125″) bleed extending past the trim line. This is to prevent minor cutting variations from leaving unintended results at the trim edge.
Safe Area is the 1/8″ (0.125″) area inside the trim line. Do not put critical information or images within the Safe Area. This is to prevent minor cutting variations from leaving unintended results at the trim edge.
If you want printed borders, they must be placed a minimum of 1/8″ (0.125″) inside the trim line and include bleed. This is to prevent minor cutting variations from leaving unintended results at the trim edge.
Please click the link below for an explanation of file orientation.
We require that you extend any images that run up to the trim line a minimum of 1/8″ (0.125″) past the trim line to create “bleed”. Depending on what program you use to create your file, this may or may not change the total image area of your file. Programs like Photoshop that do not allow the creation of “bleed” or the addition of crop marks will require an image area that is 1/4″ (0.25″) larger than your desired final overall image area in both dimensions.
Safe Area is the 1/8″ (0.125″) area inside the trim line. Do not put critical information or images within the Safe Area. This is to prevent minor cutting variations from leaving unintended results at the trim edge. If you choose to make less than this minimum clearance, we will NOT be responsible for items that are cut off in this area.
We provide three types of proofing options to ensure your order meets expectations:
Online PDF Proof: You will receive an email with a link to view a digital proof. This proof is intended for checking content and layout placement only. Please note that colors may appear different on your screen compared to the final printed product due to monitor and lighting variations.
Hard Copy Proof: A physical proof can be picked up in person or shipped to you. This proof is for reviewing content and positioning but is not printed on the actual stock you selected. Color variations may occur when compared to the final product. When you request a Hard Copy Proof, an Online PDF Proof will also be provided at no extra cost.
No Proof, Run As-Is: This option is designed for experienced industry professionals who are confident their files are press-ready and do not require a proof before production.
File Check: Our prepress team will review your file upon submission. If any issues are identified, you will be contacted via email. Please be aware that your order will not proceed until you respond to this email. This could impact your project’s turnaround time. File checks do not apply to “No Proof, Run As-Is” orders. For these, we will print directly from the file(s) you upload, provided they meet the ordered specifications.
How to Check Your Online PDF Proof: The black crop marks define the final trim size. Red dashed lines indicate scoring locations, green dashed lines show perforation marks, and solid red lines mark the cut or trim edges. Any text instructions on the proof will help visualize how pages will align after folding.
Please Note: The initial file review by our technical team is included in your order price. However, if we find technical issues and request a corrected file, any repeated errors in subsequent uploads may incur an additional prepress fee for re-checking.
To ensure your files are ready for print, we recommend uploading them in PDF format. When creating a print-ready PDF, please verify that your settings in Adobe Acrobat Distiller or any other PDF generator are configured correctly before exporting your file.
We also accept .JPG (JPEG), .EPS, and .TIF (TIFF) formats, but PDF remains the preferred option for the best results.
Before submitting your artwork, please review the following file preparation guidelines to help avoid production delays and achieve optimal print quality: